HomeNOT 1 BUT 2 WORKOUT ROUTINES AT HOME WITH MAGIC LADY MARIA!
NOT 1 BUT 2 WORKOUT ROUTINES AT HOME WITH MAGIC LADY MARIA!
MAGIC Cares about spreading motivation and inspiring others to stay healthy and active! Although currently all sports clubs are closed, this should not be a reason to stop moving; stay active and take care of your health. MAGIC Bodyfashion has decided to collaborate with Maria, who is also our brand ambassador, who has a great interest and knowledge in sports. She shares her two quick intensity workout-at-home routines: one for the lower body and one for the upper body. Intensity workout means that the routine is done in cycles, without taking long breaks. This type of workout not only trains the muscles, but also involves cardio. Maria’s routines are made especially for the beginners; however, it can also be a great warm up for those who are experienced in fitness at home! Before we get into the exercises, make sure to read our “FITNESS AT HOME: TIPS, OUTFIT, TOOLS” blog, where you will find great tips on how to start to workout at home, what tools you can use and what outfit is the best to wear during the at home workouts.
LOWER BODY WORKOUT WHAT YOU NEED TO KNOW BEFORE STARTING THIS WORKOUT
It focuses on the lower body and abs
Do each exercise for 40 seconds (FOR ONE SIDE/LEG)
Take a 10 second break between each exercise
Repeat the cycle of the exercises 4 times
Take a 1-minute break between the cycles
For those with more experience: you can also include weights or elastic bands in this routine
Pick a comfortable and breathable outfit. For this workout Maria chose: the Yoga Bra and the Yoga Crop Pants
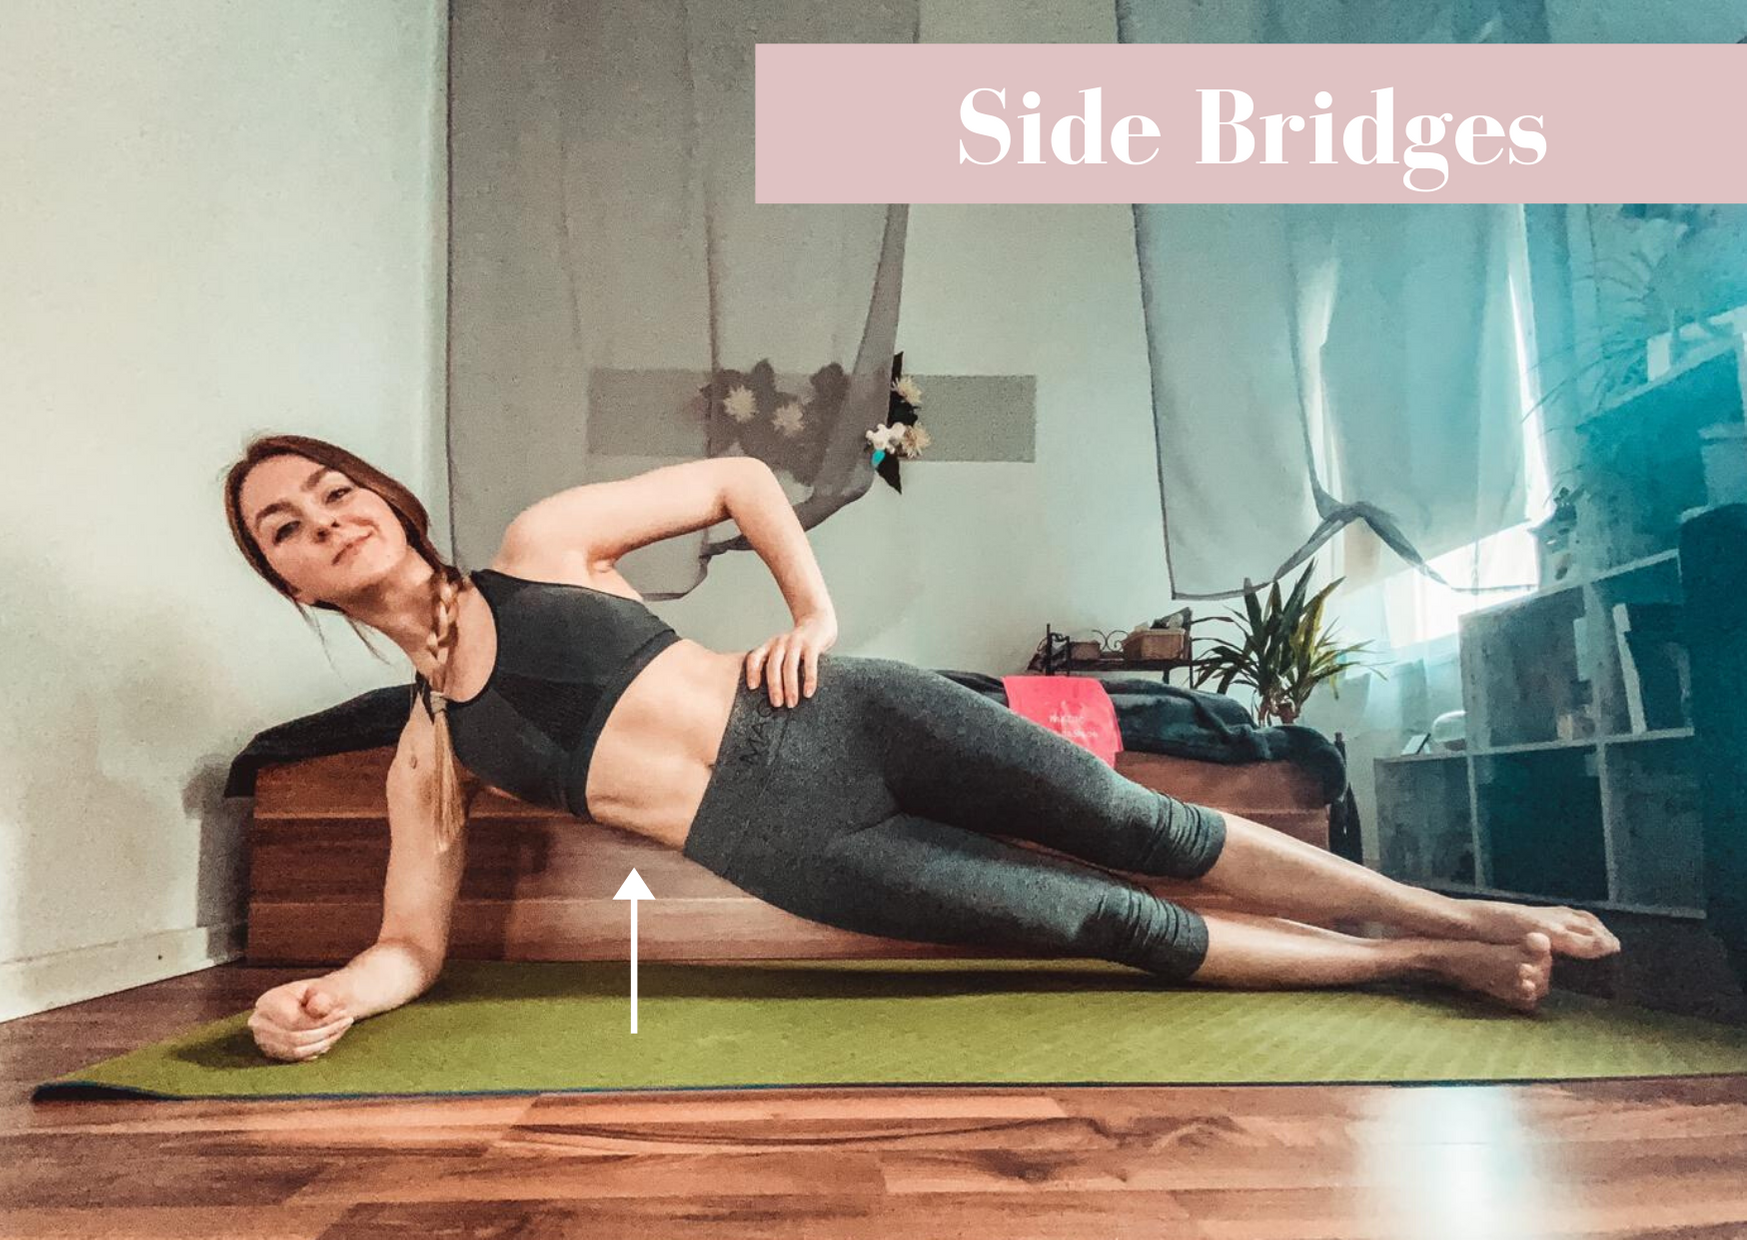
Exercise 1: Side Bridges
The best way to start the first exercise is laying down on one side. Make sure your legs are straight and prop yourself up on your elbow (as in the picture). Place the other arm on your upper hip. Once you got in the right starting position, lift your hips off the ground using your core muscles. It is very important that your body is in a straight line from your feet to your head. Stay in the Side Bridge position for 40 seconds, then take a 10 second break and move on to the other side of your body with the same exercise. Once you are done with both sides, take another 10 second break before starting with a new exercise.
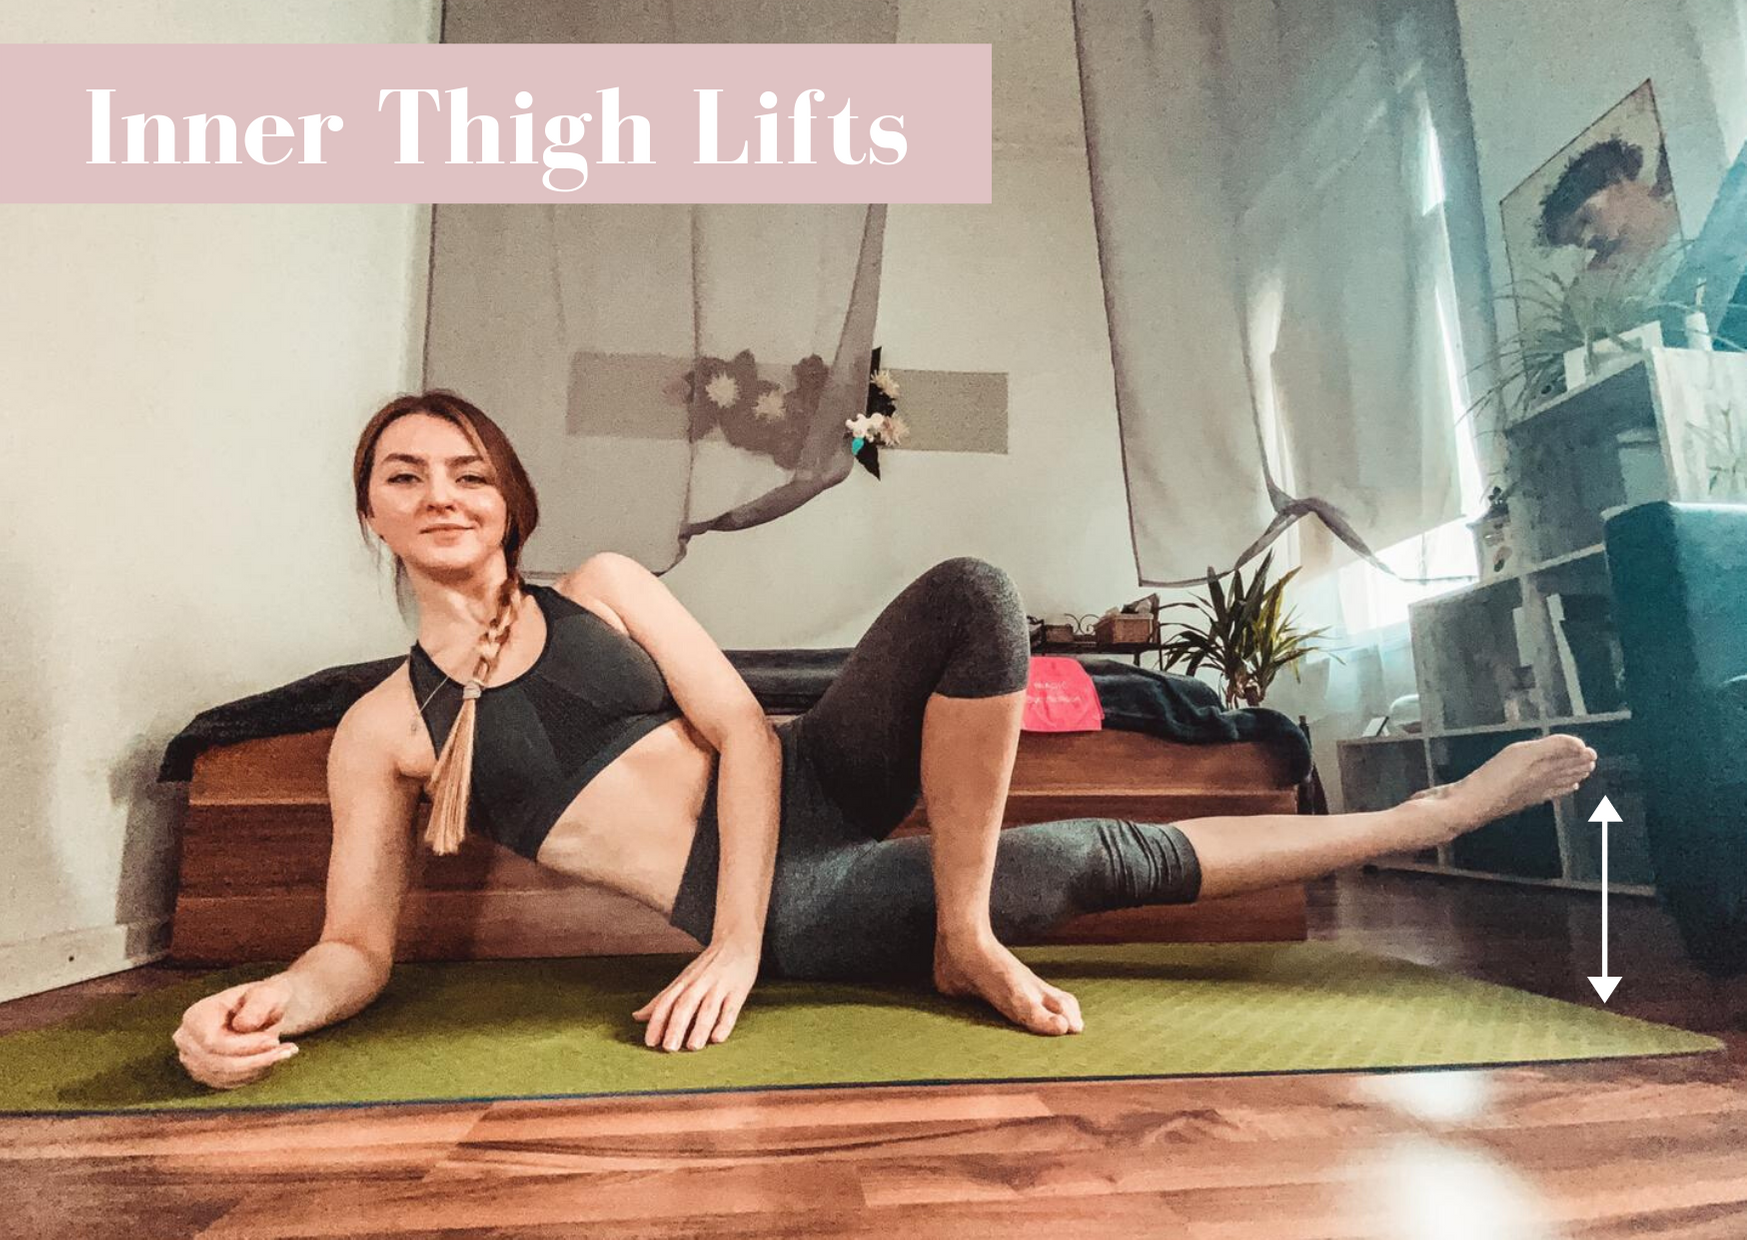
Exercise 2: Inner Thigh Lifts
After a 10 second break, start with Inner Thigh Lifts. Again, lay down on one side, with your legs slightly in front of you, creating a banana shape. Prop yourself up on your elbow, make sure to keep your back and neck aligned. To get into the right position, place your top foot in front of your hips to rest and stretch the bottom leg. Then, slowly start lifting your bottom leg and slowly put it down again (do not bend your knees and keep your bottom leg straight the entire time). Keep on repeating the movement of lifting your bottom leg up and down for 40 seconds. Once you are done with one side, take a 10 second break, and repeat with the other side for 40 seconds. Again, end with a 10 second break, before moving on to the next exercise.
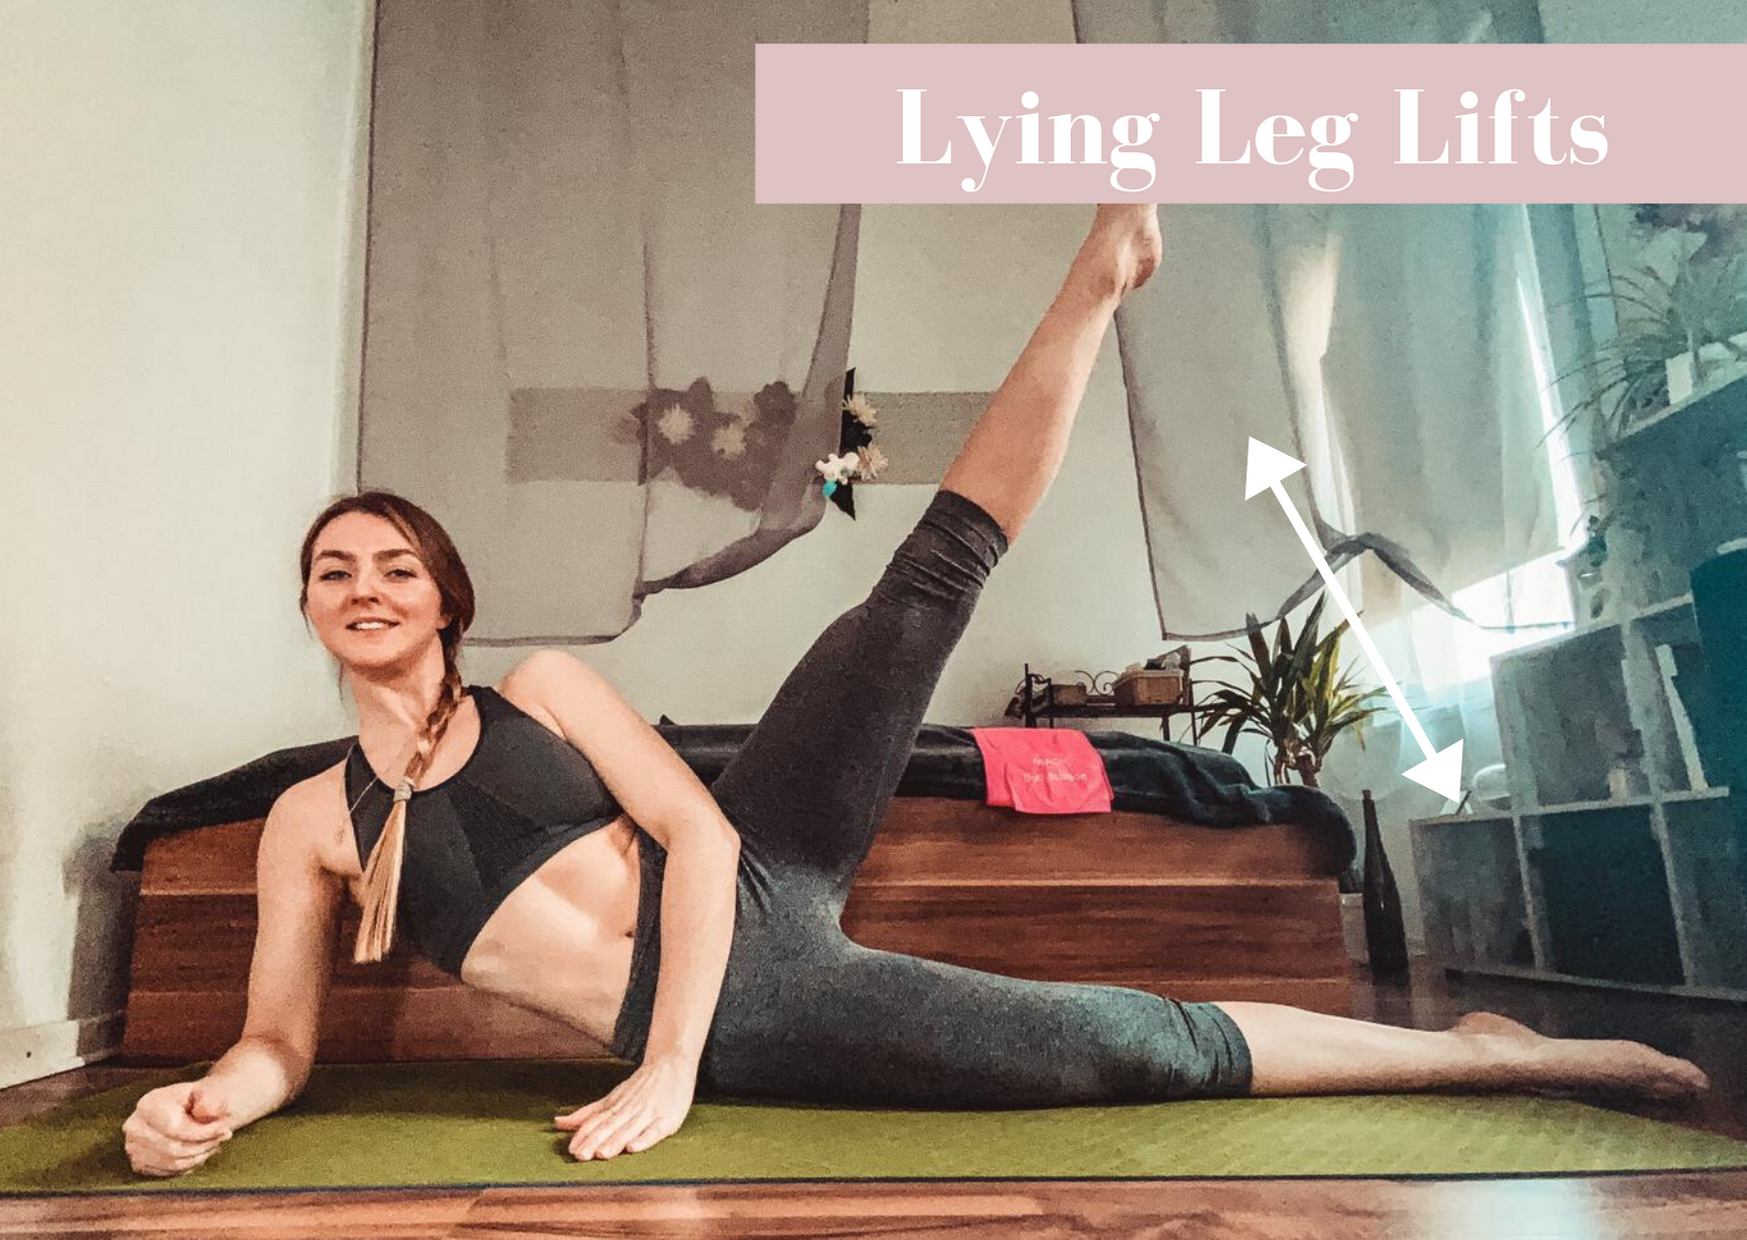
Exercise 3: Lying Leg Lifts
Once the short break after the previous exercise is over, stay laying on one side with the arms positioned the same as the previous exercise and bring your front leg back for the Lying Leg Lifts. Before you start, make sure to move your bottom leg slightly in front of your top leg. Then start by lifting your top leg up, leave it up there for a short while and slowly bring it back down. Repeat for 40 seconds on both sides, with a 10 second break in between.
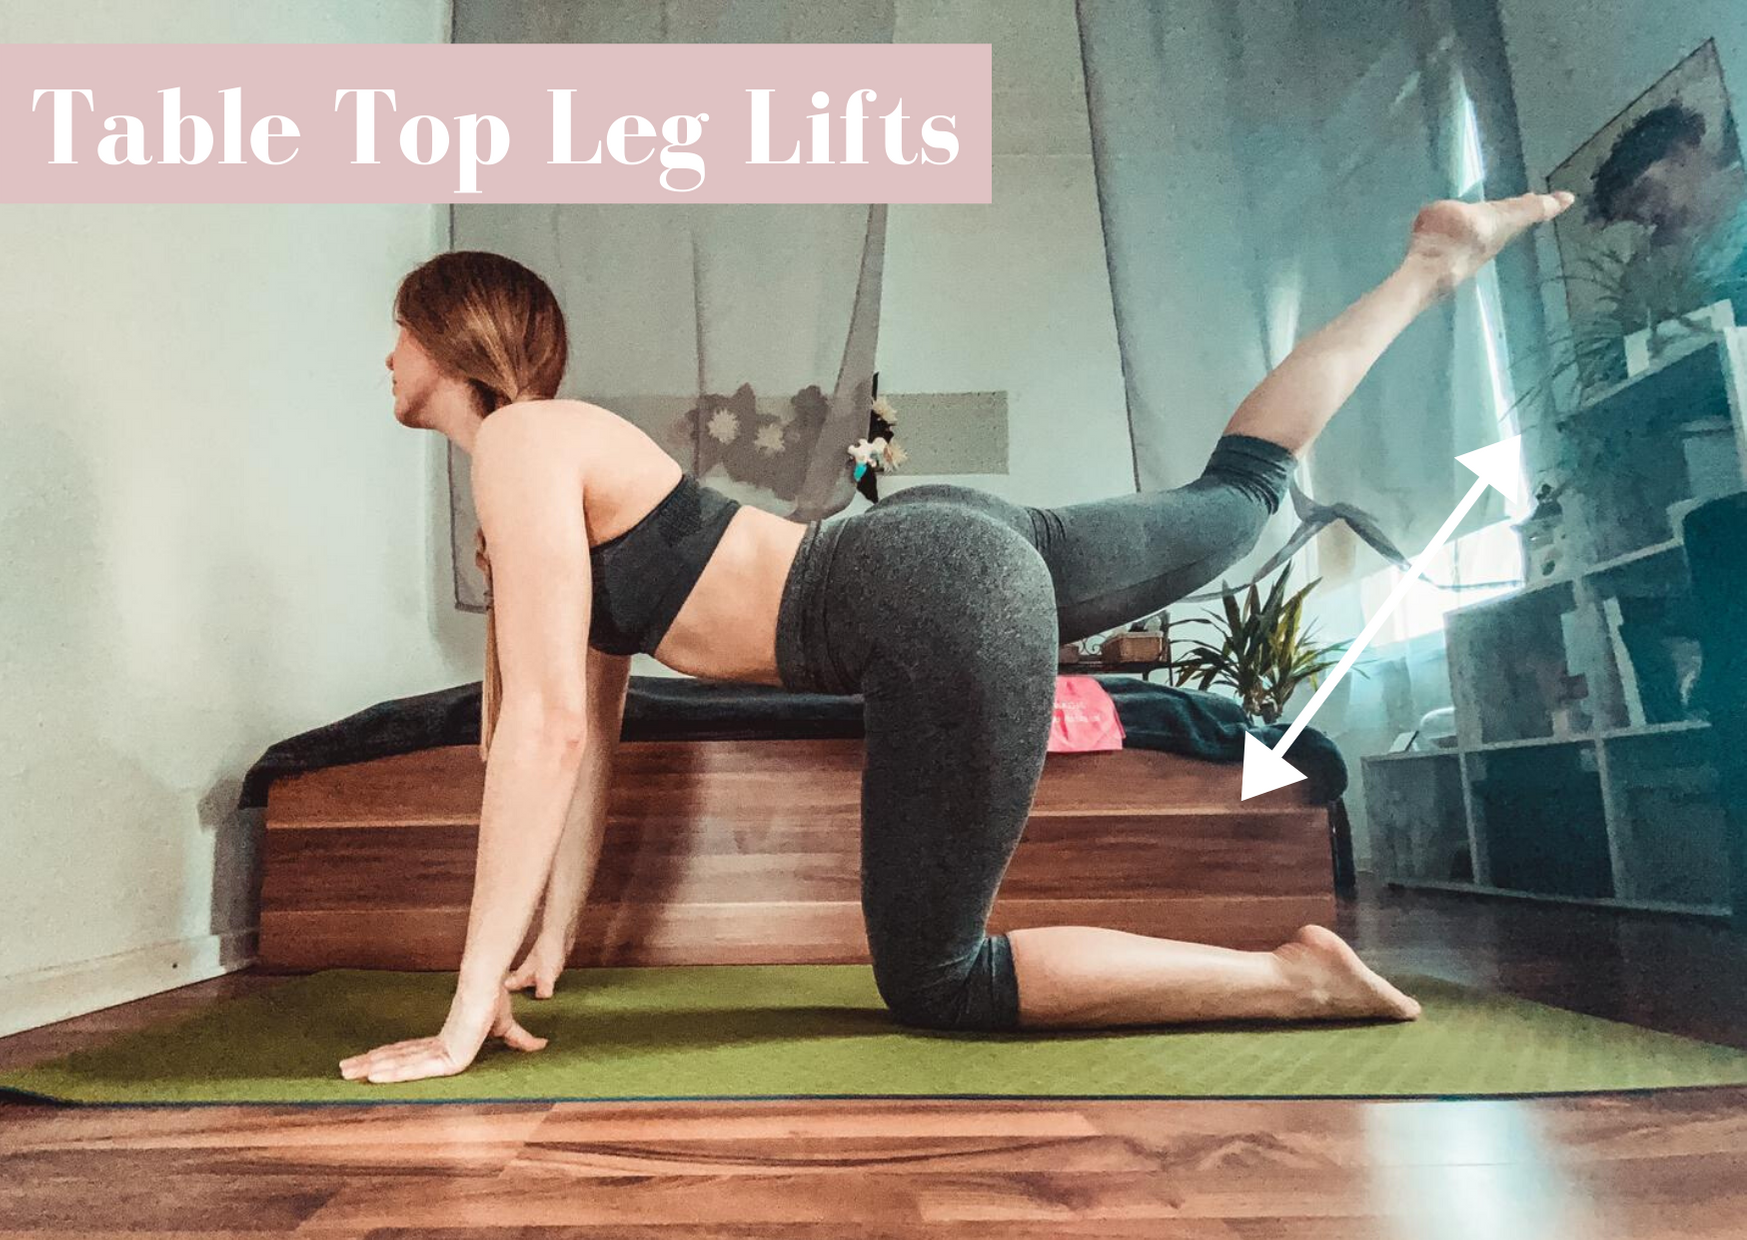
Exercise 4: Table Top Leg Lifts
After a 10 second break after the previous exercise, get on your hands and knees for Table Top Leg Lifts. Involve your glute muscles and keep them squeezed while lifting your leg up and back toward the ceiling. Extend your hip as you kick back. Once again, repeat the kick movement for 40 seconds on each side, with a 10 second pause between the side switch.
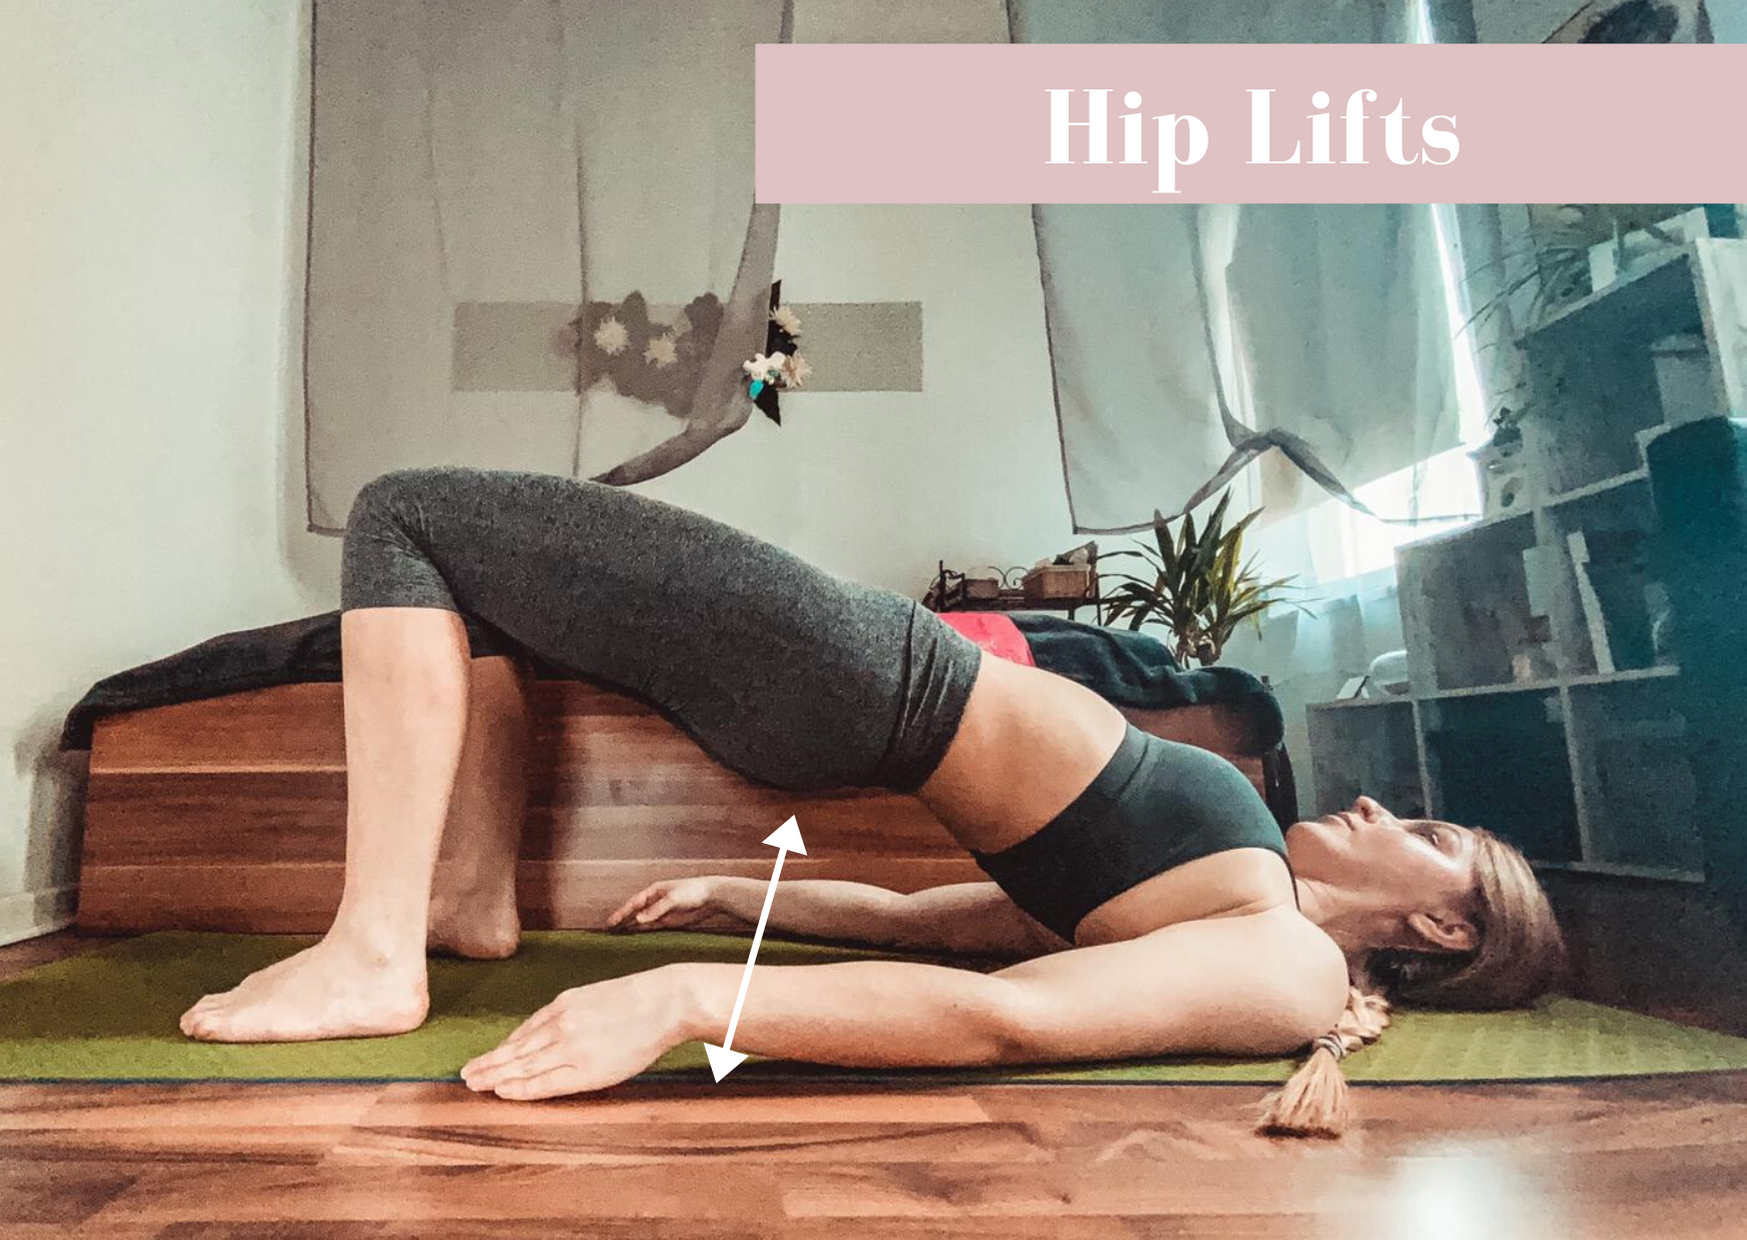
Exercise 5: Hip Lifts
Once the break is over, start with getting into a position for Hip Lifts. Lay down on your back, bend your legs and create a hip width distance between both feet. If you can touch your heels with your fingers, it means you are at the right starting position for the exercise. Now you are ready to lift your hips, by creating a straight line starting from your shoulders to the knees. Do not forget to involve your abs and glute muscles while doing this. Repeat the exercise by lifting and lowering the hips for 40 seconds and do not forget to take a 10 second break before starting with the last exercise.
Exercise 6: Single Leg Hip Lifts
Start by laying down on your back. Bend your legs and create a hip-width distance between both feet, just like in the previous exercise. Once you are in the correct starting position, lift your hips, by creating a straight line starting from your shoulders to the knees. This time with every hip lift, also lift one leg, keeping the balance on the other (see in the picture). Repeat the exercise for 40 seconds for each side, with the 10 second break in between.
Repeat the cycle of all exercises 4 times and then the workout is over. You did it!
UPPER BODY WORKOUT WHAT YOU NEED TO KNOW BEFORE STARTING THIS WORKOUT
It focuses on the upper body: shoulders and biceps.
Do each exercise for 40/60 seconds (FOR ONE SIDE/ARM)
Take a 20 second break between each exercise
Repeat the cycle of the exercise 5 times
Take a 1-minute break between the cycles
For the ones with more experience: you can also include additional weights
Pick a comfortable and breathable activewear outfit. For this workout Maria chose: the Comfort Bra and the Yoga Crop Pants
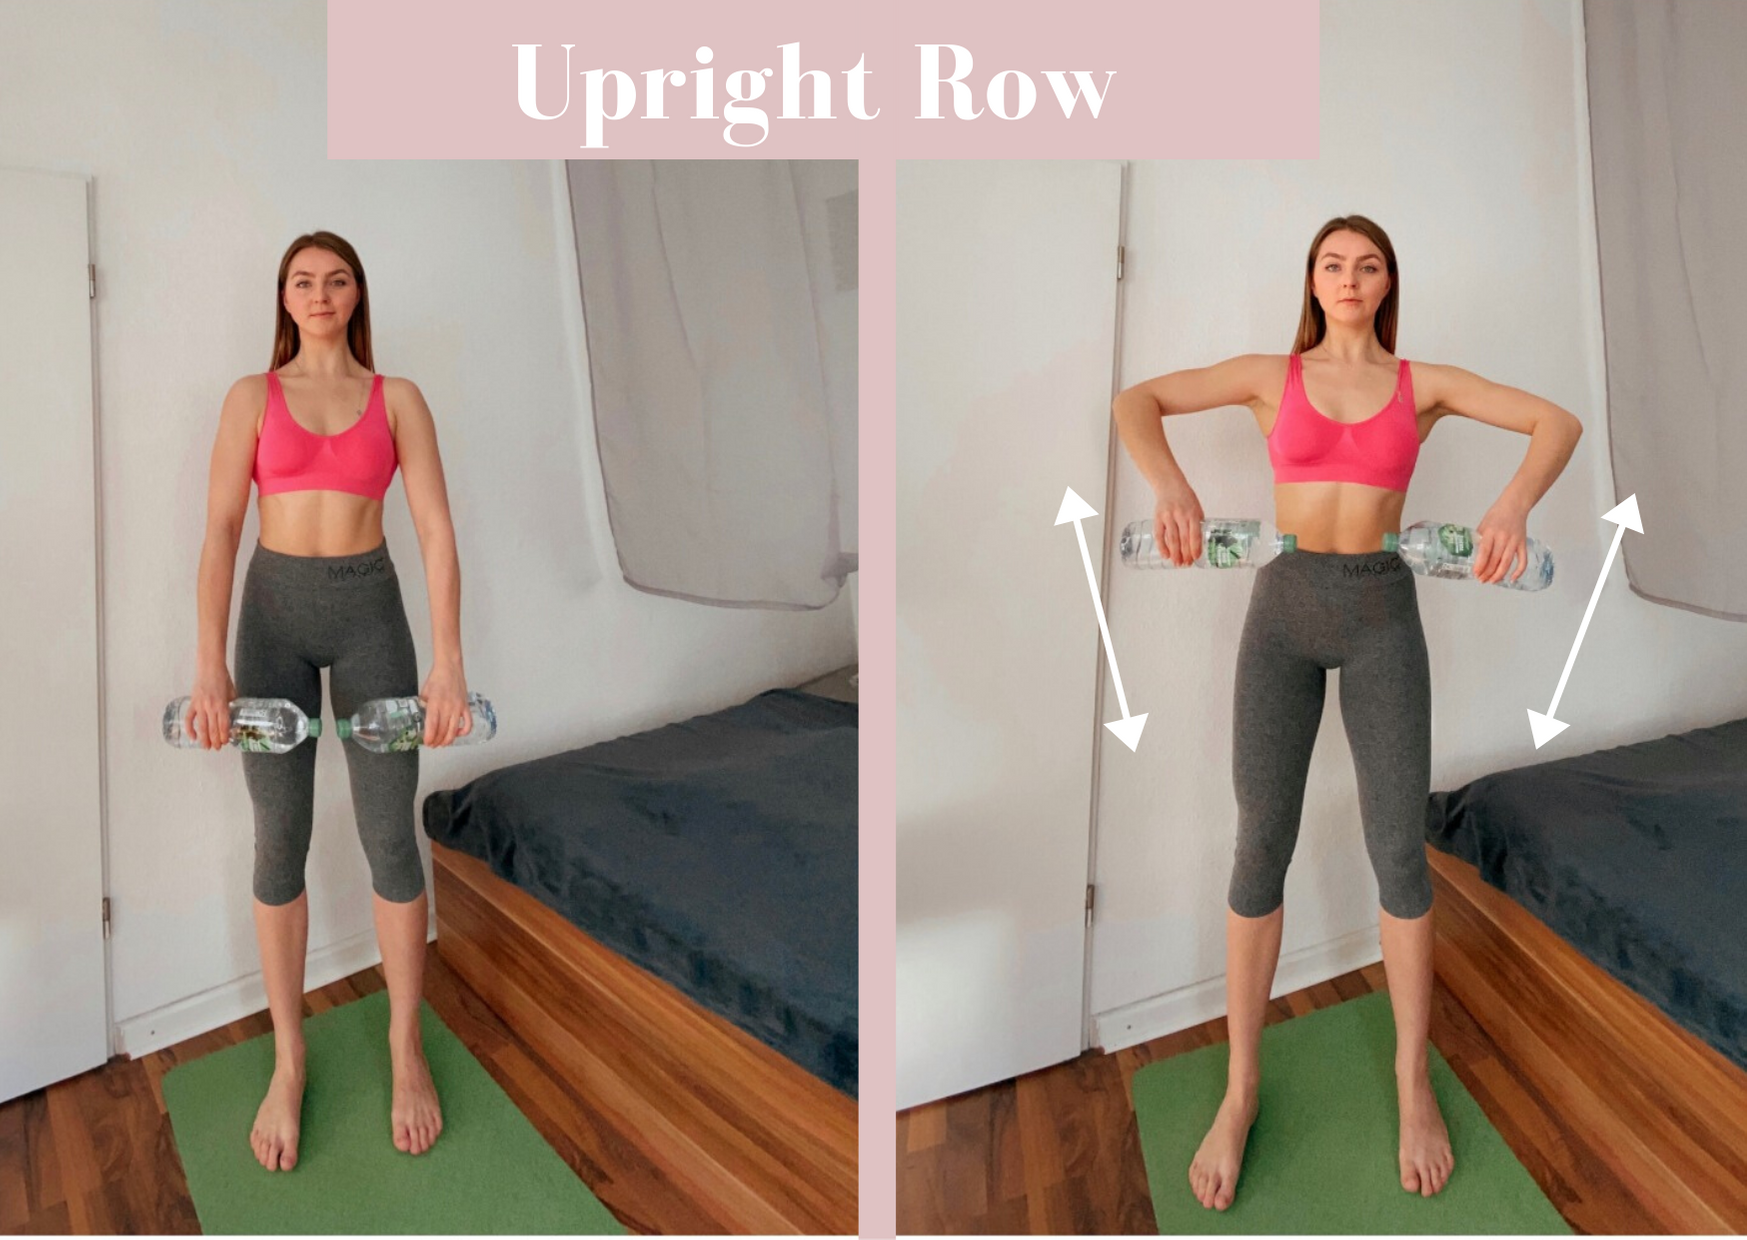
Exercise 1: Upright Row
Start by standing straight and with your feet at shoulder-width apart. Hold the weights in each hand, palms facing toward your body and the weights touching the quads. Once you are in the right starting position, lift your elbows up so the weights are in line with your chest (see image). Keep on repeating this movement slowly and do it for 40 seconds.
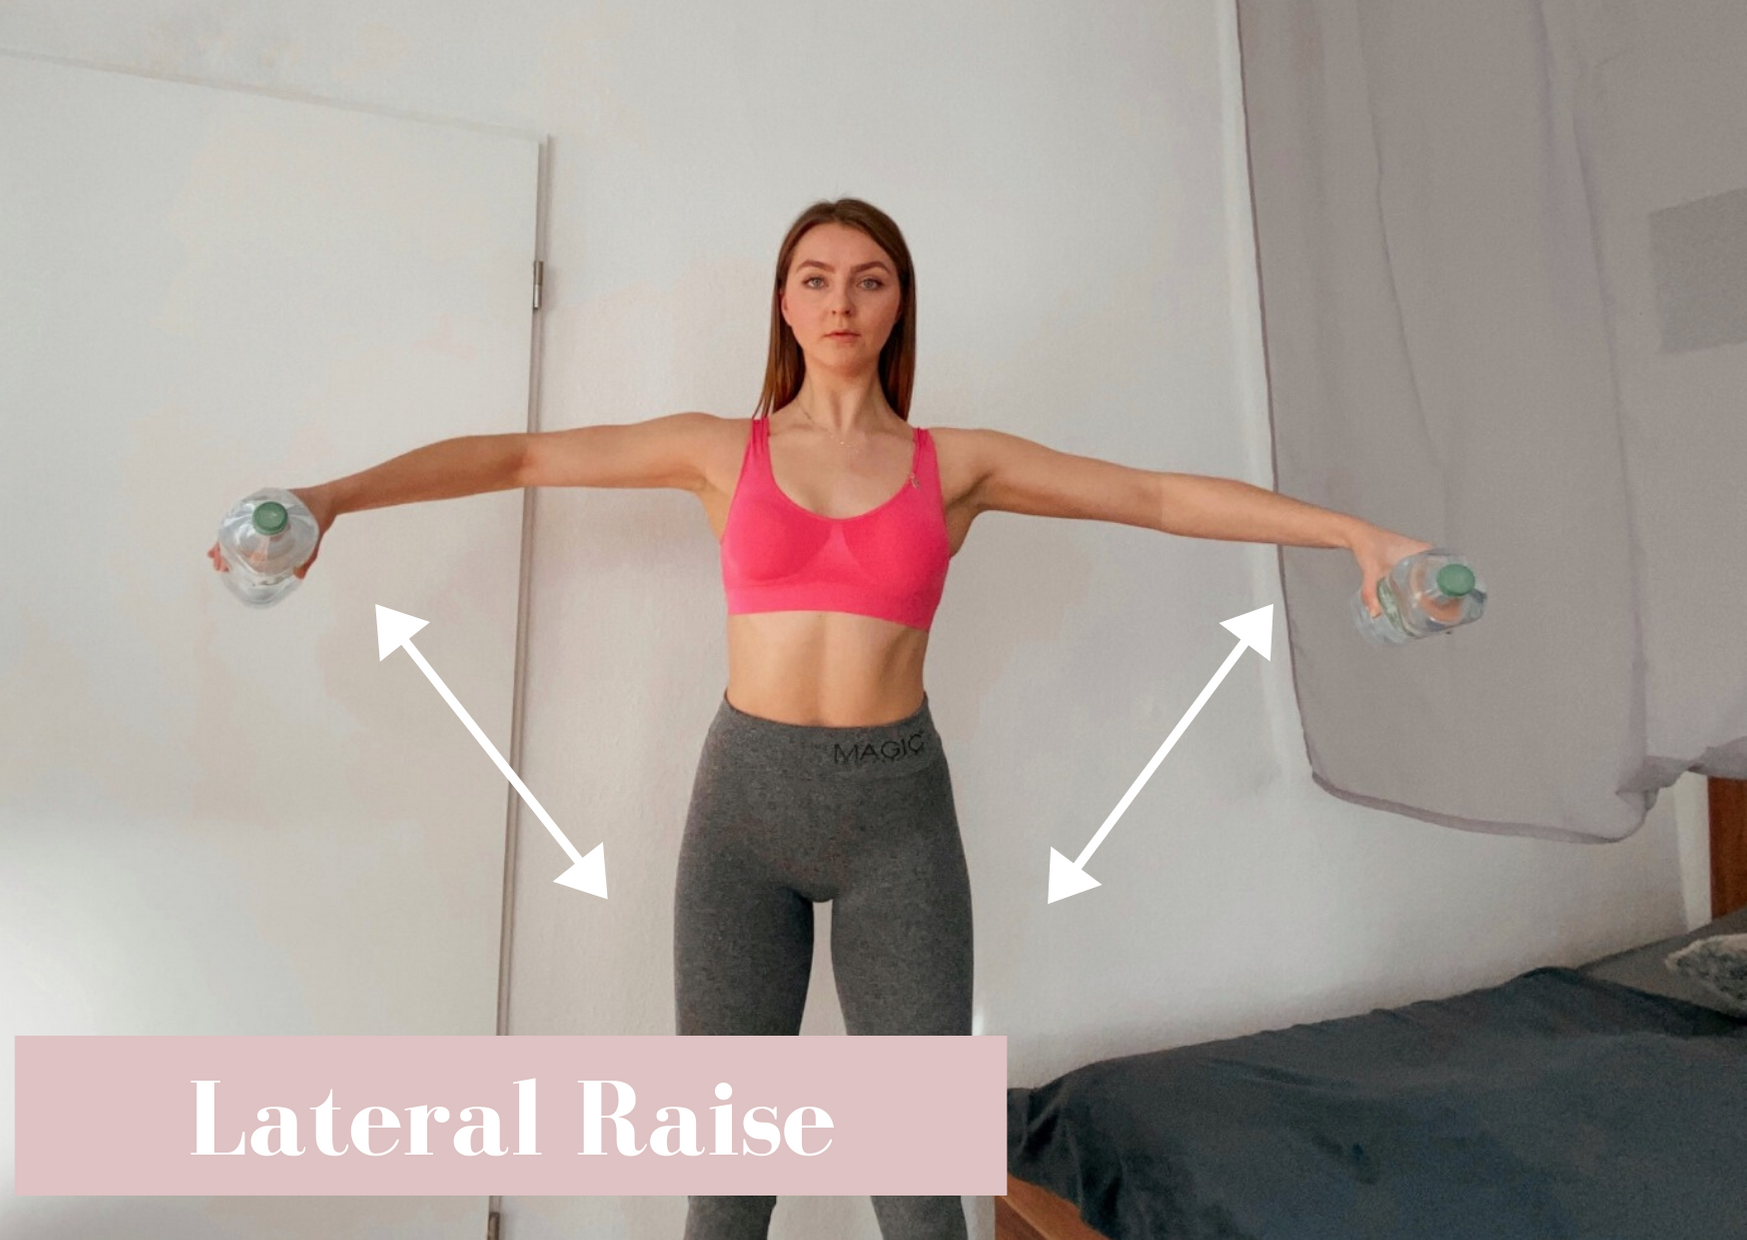
Exercise 2: Lateral Raise
After taking a 10 second break, stand straight again, hold the weights in both hands. Make sure that weights are in front of your abdomen with palms facing each other. Start the exercise by raising the weights out to the sides, use your shoulder muscles, make sure to feel the pressure there. Raise as high as shoulder height and slowly return into the starting position. Keep on repeating the movement for 40 seconds and end it with a 10 second break before the following exercise.
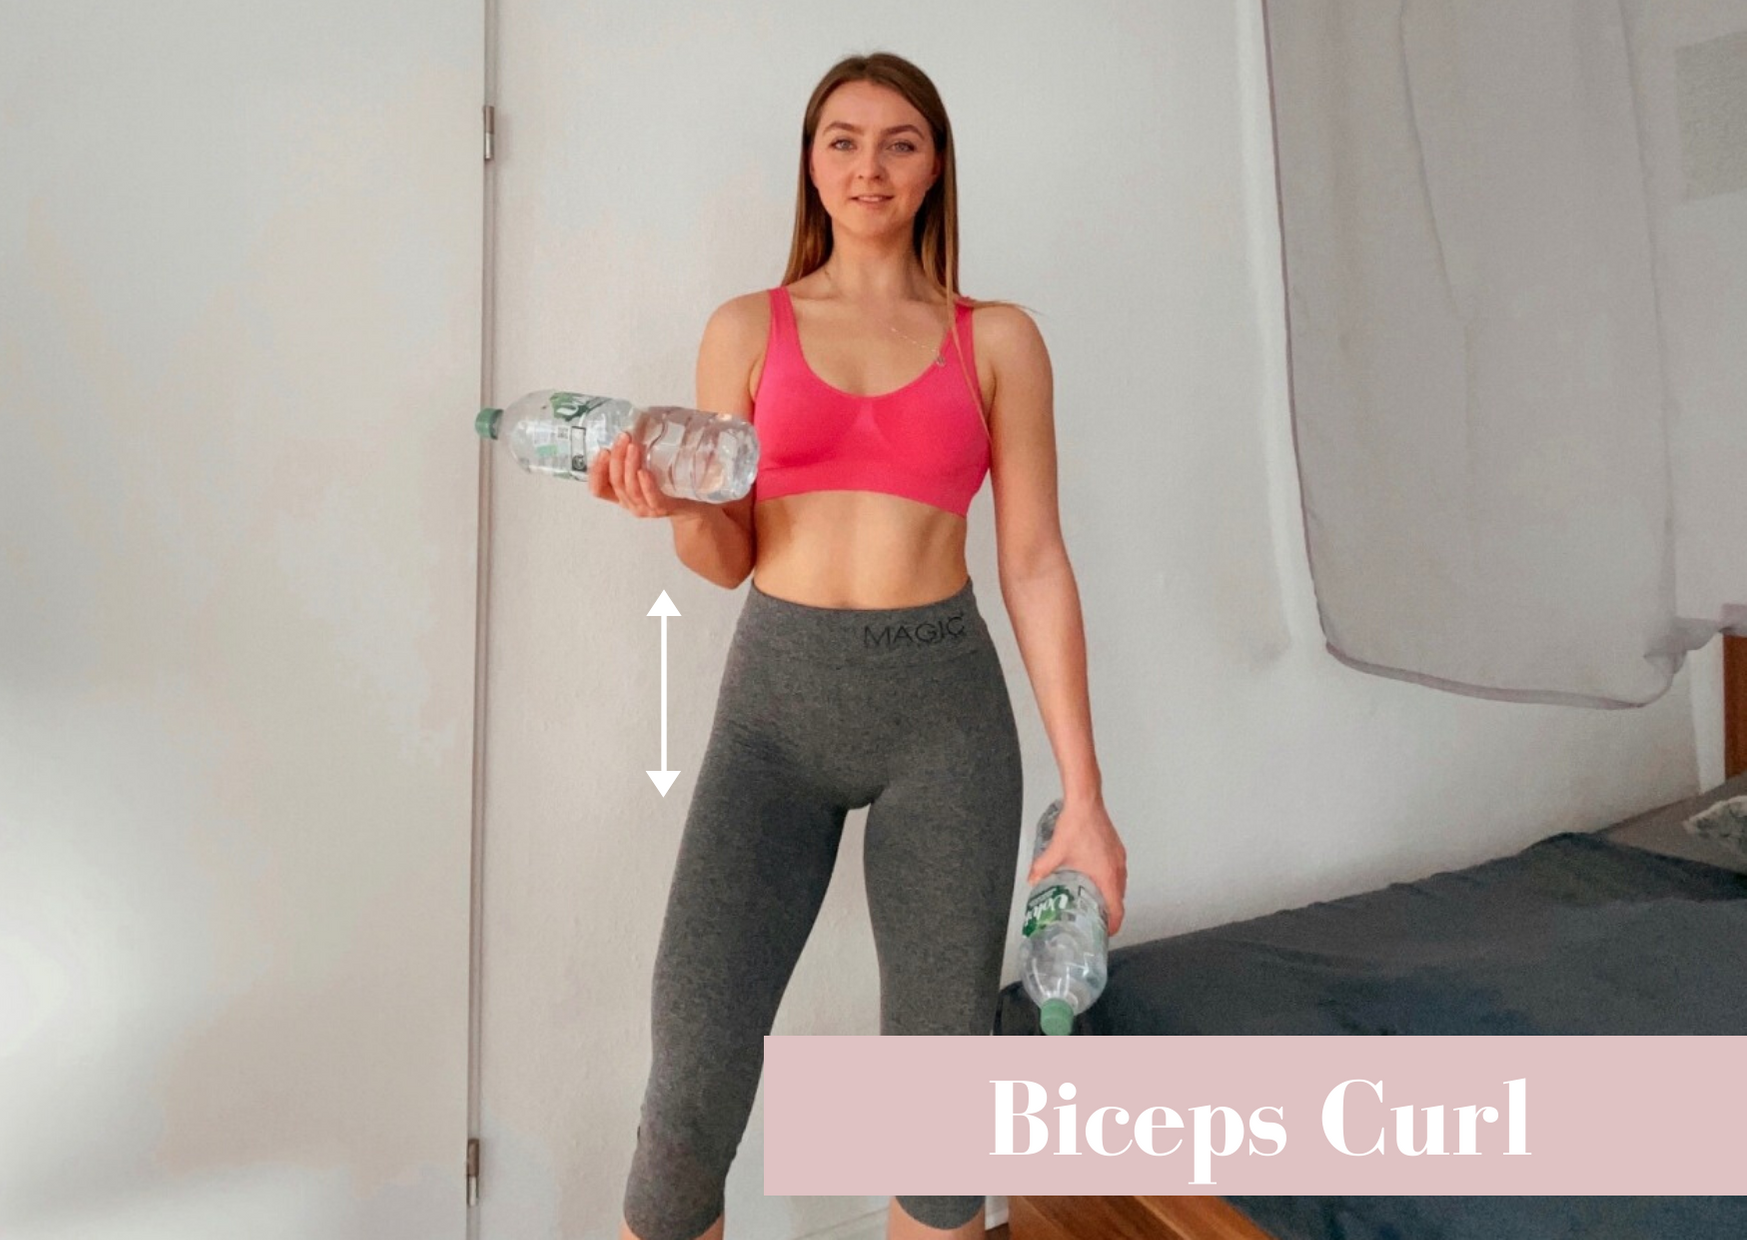
Exercise 3: Biceps Curl
Again, get into the position to start the exercise by standing straight. Make sure your feet are hip-width apart and you are holding the weights at your sides.
Start the exercise by bending your elbow, without moving the upper arm part. Push the weight towards your shoulder. Slowly lower the weights back to the starting position.
Repeat the movement for 40 seconds, on each hand. Do not forget the 10 second break in between the arm switch and at the end of the exercise.
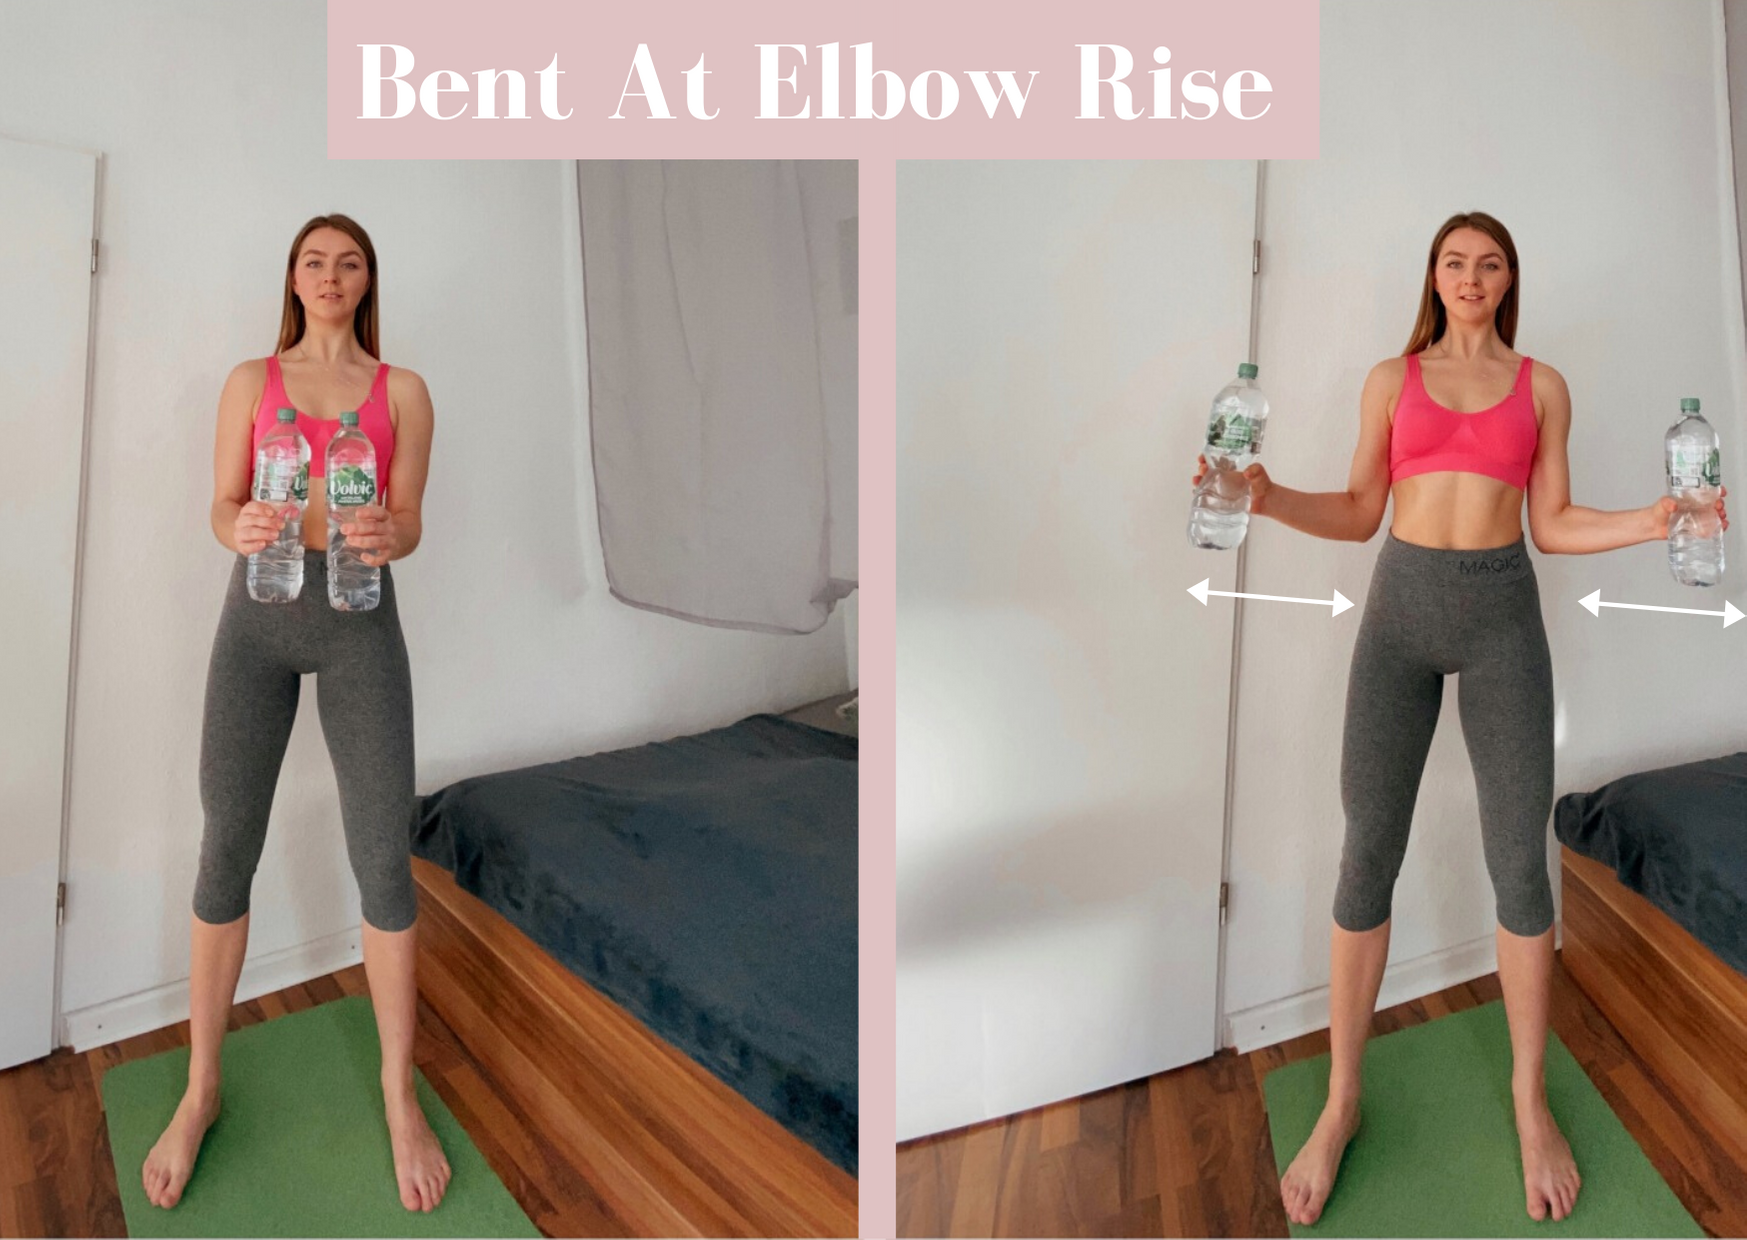
Exercise 4: Bent At Elbow Rise
Just like the previous exercise start by standing up straight. Make sure your feet are hip-width apart and you are holding the weights at your sides.
Start the exercise by bending your elbows, without moving the upper arm part. This time push the weights towards each other, as in the picture.
This exercise needs a bit longer than the previous ones and should be repeated for 60 seconds.
Repeat the cycle of all exercises 5 times and then the workout is over. You did it!
We hope that you'll enjoy this workout as much as we did!

 USD
USD EUR
EUR EUR
EUR EUR
EUR EUR
EUR EUR
EUR GBP
GBP